

Ligature Resistance
Designed to deter ligature
- Wooden frame with radiused compound Edges that mount flush to walls using specialized wall anchors.
- Art is protected by a Lexan Class “A” fire-rated polycarbonate barrier
- Frame backing is made of Sintra, a dense material
- Rigid framer points are used to secure the artwork within the frame
- Frame includes predrilled, recessed mounting holes for concealed anchors, spaced to strategic locations to help create a tight seal around the edge of the frame to the wall.
- A 24 “x 36” Guardian frame can withstand 1,500 pounds of downward force

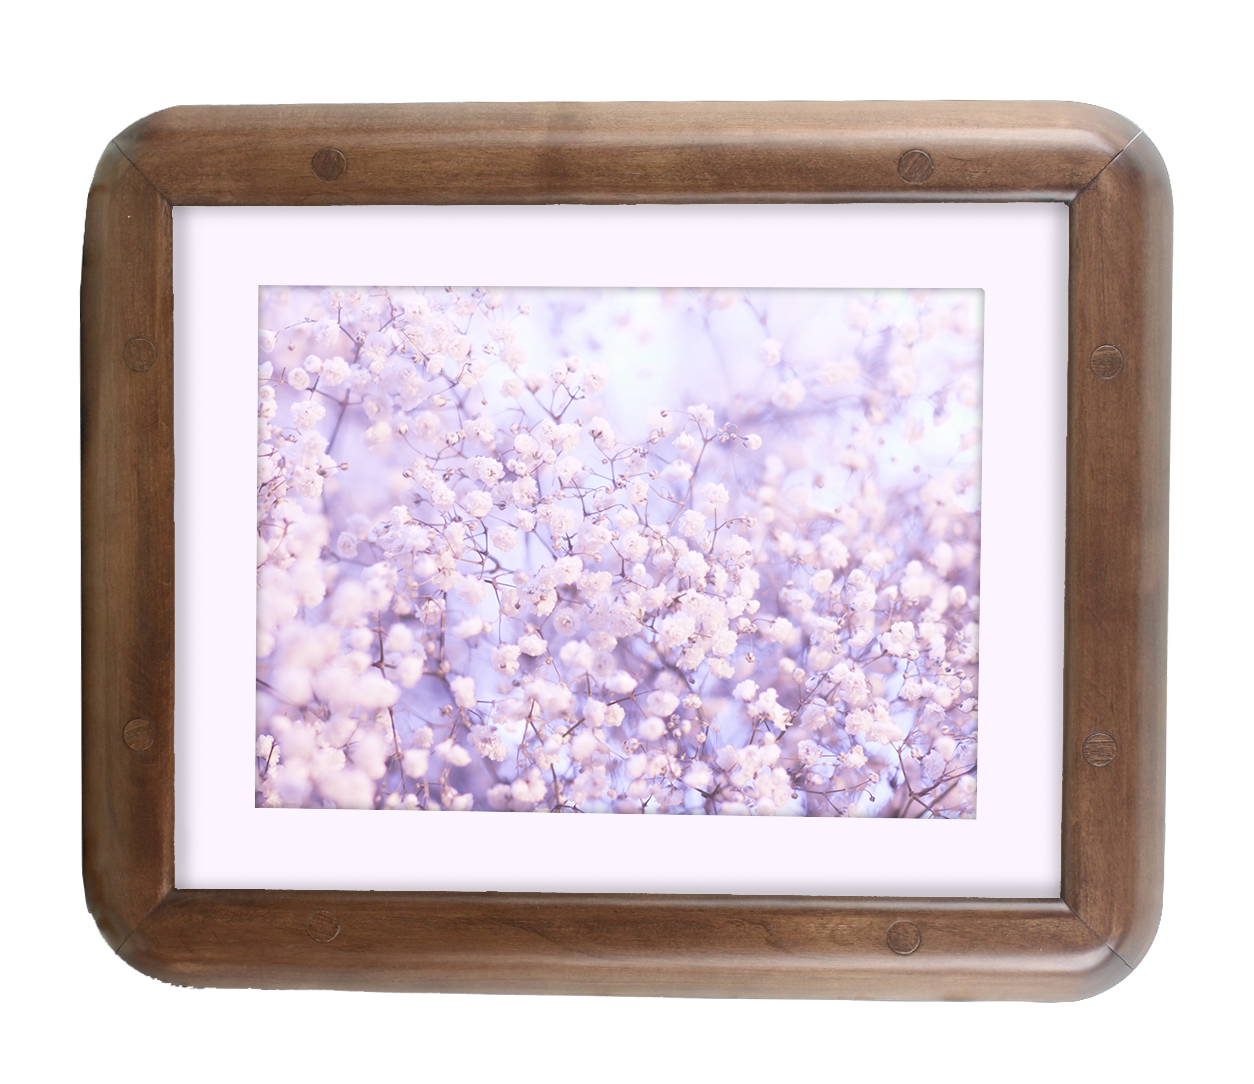
CHOOSE ANY PRINT
FROM OUR EXTENSIVE ONLINE LIBRARY
The print that you choose from our extensive online library is matted just like a normal picture frame, but it is then safeguarded by a ⅛ inch polycarbonate facade to ensure that the print cannot be damaged.
Browse from over 60 options in our library.
OR USE YOUR OWN ARTWORK
If you have art of your own that you would like placed in our frames, in most cases that can be accommodated as well.


Customizable
CHOOSE FROM THREE SIZES

25″x29″ Frame Size
16″x20″ Image Size

29″x39″ Frame Size
20″x30″ Image Size

33″x45″ Frame Size 24″x36″ Image Size
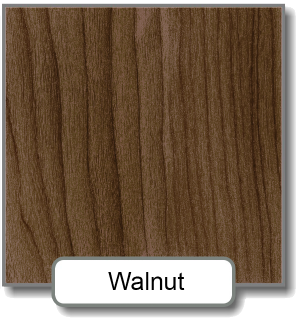
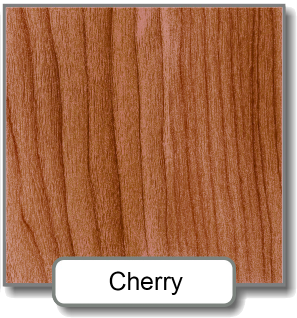
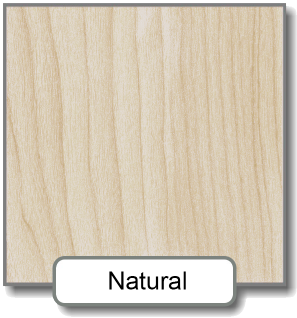
CHOOSE YOUR FRAME COLOR
Available in 3 standard sizes but can also be custom-made and crafted to most size requirements.

Available Sizes
- Image Size of 16″x 20″ with Frame Size of 25″x 29″
- Image Size of 20″x 30″ with Frame Size of 29″x 39″
- Image Size of 24″x 36″ with Frame Size of 33″x 45″
Art Selection Instructions
- Visit rao.com to create an account.
- You can search our 20,000 images by:
– Use the search bar at the top to identify pictures that might be suitable for your project; or
– Check out our curated galleries by clicking on the folder titled “A1-RAO Suggested Collections”.
– You can also check out a smaller collection in the “Behavioral Health Artwork Suggestion” file at the bottom of this page.
3. When you find one or more images you like, create a “Favorites” Folder or Collection and drag them over to save them.
4. When you have finished making selections, please email bspbspsales@besafepro.com to let us know.
5. If you need any assistance, you can email bspbspsales@besafepro.com or call 706-705-1500.
Installation Instructions
Before you start:
- 2-people are required for standard size frames. 3-people are needed if the frame is larger than 40″ x 40″
- Review the Hilti Toggler instruction sheet
- Allow 30-60 minutes per frame installation
Steps to a successful installation :
- Locate the position of the frame on the wall. Typically, the center of artwork (measuring top to bottom) should be 60″ from the floor.
- After the approximate location has been determined on the wall, use a stud finder and pencil to note the locations of the studs.
- Return the frame to the wall and adjust it, if needed, to avoid hitting a stud. Ensure the frame is level.
- While one person holds the frame tight against the wall, a second should use a pencil with a sharp tip to mark the center of each hole around the perimeter of the frame.
- Remove the frame from the wall and place it to avoid getting dirty from the drilling in the next step.
- Drill all the previously marked locations with a 1/ 2″ diameter drill bit. PRO Tip: Have the second person use a vacuum to remove the sheetrock dust while drilling for an easier time with clean-up.
- Inspect the drilled holes and ensure any insulation or other debris in the wall is clear so that the Hilti toggler bolt can open and seat properly.
- Insert (1) Hilti Toggler into each hole per the Hilti Toggler direction sheet
- Have one person place the Guardian Frame on the wall aligning the holes in the frames with the holes in the Hilti Toggle bolts, while the second person inserts a screw at the top left and top right of the frame. Do not fully tighten these initials screws. Allowing them to be loose makes it easier to insert the balance of the screws.
- Insert but do not fully tighten the rest of the screws.
- Place a level on the frame, and while one person keeps the frame level, the 2nd person should begin tightening all the screws around the perimeter of the frame.
- Check to ensure the entire frame is flush with the wall. If you cannot get a particular area flush to the wall and the gap is less than 1/8″, use a pick-free caulk or sealant to fill the gaps. If the gap is greater than 1/8″, then remove all the screws and determine the cause of the gap.
- Once the frame is attached flush to the wall, use a rubber mallet to insert the matching flush plugs around the perimeter of the frame
PRO Tip: Line up the grain of the plugs with the grain of the wooden frame by rotating the plug until you see the best result.